Using Movable Type: Step 1 - Installing
 Movable Type is a powerful blogging platform available for anyone to download and use for their own liking. Many people bring up arguments one which is better; Movable Type or Wordpress. I have always used Movable Type and can really find no reason to change. It is very easy to install, very functional out of the box, and has a lot of possibilities as far as personalizing goes.
Step 1 - Getting your server ready
The first step is to make sure your server can support MySQL. Most servers support this now and have really steps to set up yourself up as a MySQL administrator. I cannot really go into detail about this because it is different dependant on your server control panel. Once yoru administrative access is set up, you need to go ahead and make a table. This can be called anything you want. You just need to make sure you remember the MySQL user name, password, and database table name.
Step 2 - Getting Movable Type
The next step is downloading and uploading the blog platform. Go to their website here and download the files to your computer. Afterwards, you need to upload them to your server in any folder you want. It is suggested not uploading all the files to your home directory so just create a directory called "cgi" or "mt". There are almost 3,000 files to upload so it might take a little while. Patiences.
Step 3 - Installing
Once the uploading is complete, go to the directory you placed all the files in. You should then start the movable type install wizard: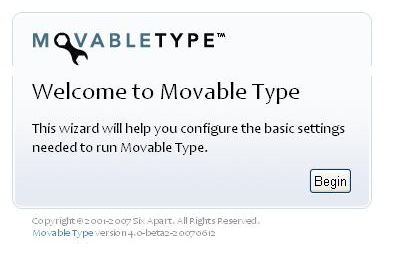
Click on the "Begin" button. Movable Type will then check to make sure your server can support all the features the blog offers. If you passed, you can hit "Continue". The next window that appears is where you need the information from step 1.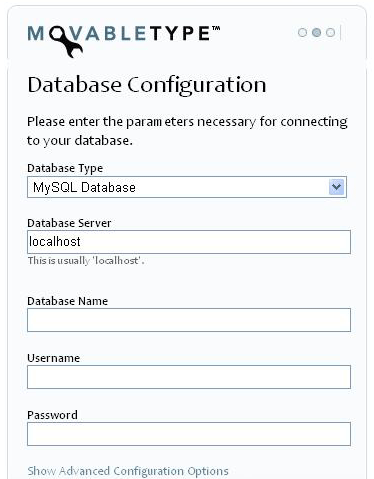
Since we did not talk about Database Server name, I'll discuss it for a little bit here. As it says, most servers have this named 'local host'. Another common name is 'mysql'. Unless your servers states otherwise, there is a good chance you can just leave it like that. Go on and place your server name, password, and database name and hit next.
If you did everything correctly, the next window will give you a success message. Next, you will be asked to set up the system email.
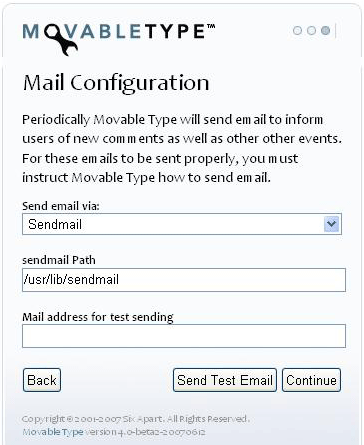
Again, there is a good chance you can leave everything here with its default values. You can try to send a test email but if you want, you can just hit continue.
This should be the last step for actually configuring the database portion of your blog. Next, you will set up your adminstrative user name and password to access the blog. You can pick any information you like for this.
Lastly, its time to set where you want to publish your blog. You can set this path to be the home directory of your server and anything else you want. Once you do that, you are complete with the installation process. Movable Type will update your database and write all the settings to a config file. You should be able to log into your dashboard and start blogging!